
Motorhome Transformation: A New Life Radiating Color
I set out on a new kind of journey with the transformation of my motorhome, wanting to stand out from the ordinary and bring a touch of my own personality.


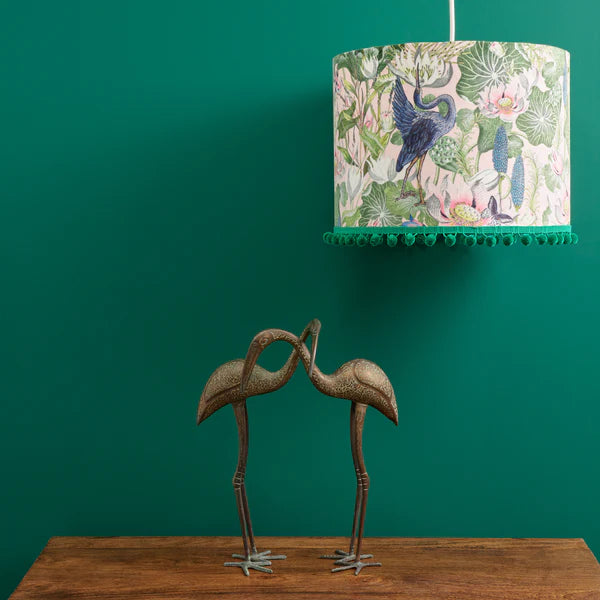
Traditional whites, beige, and grays were left behind when I decided to give space to colors and bold choices that bring a smile to my face every day. At first, I only knew that I wanted green cabinets and lots of color, but as the renovation progressed, the choices became concrete.
I wanted to also give space to creativity and often during the process the mind may change, so I was really happy to also have the opportunity to mix and shade new colors myself. I am very satisfied with our collaboration, which made this colorful adventure possible!

Coverage and Stunning Color
Frenchic paints combine naturalness, durability, and recyclability, which is important to me. The paints are mineral-based but still do not compromise on color richness or coverage.
Many have already admired my transformation and said: "It looks like it was done by a professional! How did you get the surface so smooth?" The answer lies in the paint's composition and its intelligent drying surface.
The Frenchic paint surface is in a class of its own when dry!
Frenchic paints are also really economical and very pleasant to apply. In the transformation, I also used other leftover paints from previous renovations of different brands and experienced a big difference between these paints. Frenchic paints truly live up to their reputation!

Color Brilliance, Playfulness and Bold Choices
During the process, the vision began to clarify step by step. I played with different ideas, sought inspiration from my old travel photos, Pinterest, and the Frenchic Facebook group.
I decided to boldly try different combinations, and sometimes it worked out, and sometimes there were misjudgments. The best part is that you can always change your mind and paint over it.
Finally, the inspiration came from the colorful streets and houses of Lisbon. I wanted to bring lots of bold colors and playfulness to my motorhome that would brighten every morning, regardless of the weather. I used different shades and combined them boldly, creating a cheerful and energetic atmosphere in the space.
Steps Toward a Perfect Result
Good preparation is the foundation of a successful project. Frenchic offers excellent instructions for proper preparation. According to the instructions, I carefully washed and sanded smooth surfaces, but the roughness of the walls and ceiling was sufficient with just paint wash.
Frenchic's own Sugar Soap easily removed grease, ingrained dirt, and dust. These preparation steps should not be skipped!
When preparing a motorhome, it's worth setting aside time to remove cabinet doors and small parts like handles and screws.

After careful preparation, taping was next. The best result came from Frog Tape found in Frenchic's online store, as it doesn't let paint seep under the adhesive or leave a rough surface after removal.
I was surprised at how much time all the preparation took, and I learned that, for example, just preparing the cabinets could take up to three days before I could start painting.

The Trio of Painting Techniques: Find Your Favorite
Roller: The tool chosen was TFB - 15mm - Semi Smooth Plus - Microfiber Roller. This was an excellent choice as it leaves a very even finish and works great on all surfaces. Thanks to careful washing, the rollers could be used again and again.
Brush: Frenchic's own oval brushes enabled painting corners and precise areas. A motorhome has countless corners and spots requiring detailed work, so in addition to these, I used my own soft and small brushes.
Spray Painting: Fun but the most challenging of these three. In spray painting, the paint needs to be diluted with water about 10-15%, which of course reduces coverage. I used this technique with the Victory Lane Al Fresco shade on cabinet doors. The result was a very even and successful surface after four coats.
The Joy of Recycling: Use Leftover Paints Creatively
Frenchic's paints were well measured, and there was just enough for the transformation. I plan to use the leftover shades in my art, as these paints are perfect for techniques like pouring and can create truly striking interior paintings.
Alternatively, I plan to give leftover paints to friends or offer
for example, through social media to DIY project enthusiasts who are interested.
Frenchic's values – environmental awareness, sustainability, and recycling – are also important to me, which is why this project felt especially meaningful.

Henriikka's Tips:
1. Follow the instructions and don't skip preparations
2. Double the time usage compared to the original plans
3. Play boldly with colors – don't fear mistakes, as you can always paint over them
4. Seek inspiration from others who have done similar projects – Frenchic's Facebook group is great for this
5. If inspiration or motivation runs out, take a break and return to the project later
6. Know when to stop, as endless dithering can take the joy out of doing
7. Enjoy the brainstorming, the process, and the final result
Thank you Frenchic for making this amazing transformation possible and giving me the tools to realize my vision. Thanks to our collaboration, my motorhome is now more colorful and inspiring than I ever imagined. I am extremely grateful for this journey, which has been full of creativity and joy.
Towards new adventures!
The transformation of my motorhome is now temporarily complete, and I intend to enjoy colorful adventures and my handiwork.
Although the main project is finished, I still plan to add various patterns and details, but I will give my body and mind some time to relax after the long renovation and space for creativity.
You can follow my journey on Instagram!