KITCHEN CABINET PAINTING TIPS - A new look for your kitchen in Frenchic style!
Painting kitchen cabinets is always a good option for the environmentally conscious consumer.
The change achieved by painting is significant and at the same time saves time and nerves from the troubles of often long and expensive renovations.
Painting the cabinets gives the old kitchen extra time.
Painting is an easy way to renew the entire kitchen's look affordably, it gives extra time to the old kitchen and refreshes yellowed or dark surfaces at home or at the cottage.
Read these tips to the end and see 'before and after' pictures of kitchen transformation projects.
Often the frames of old kitchens are perfectly fine - only the doors have yellowed or just look a bit from another era!


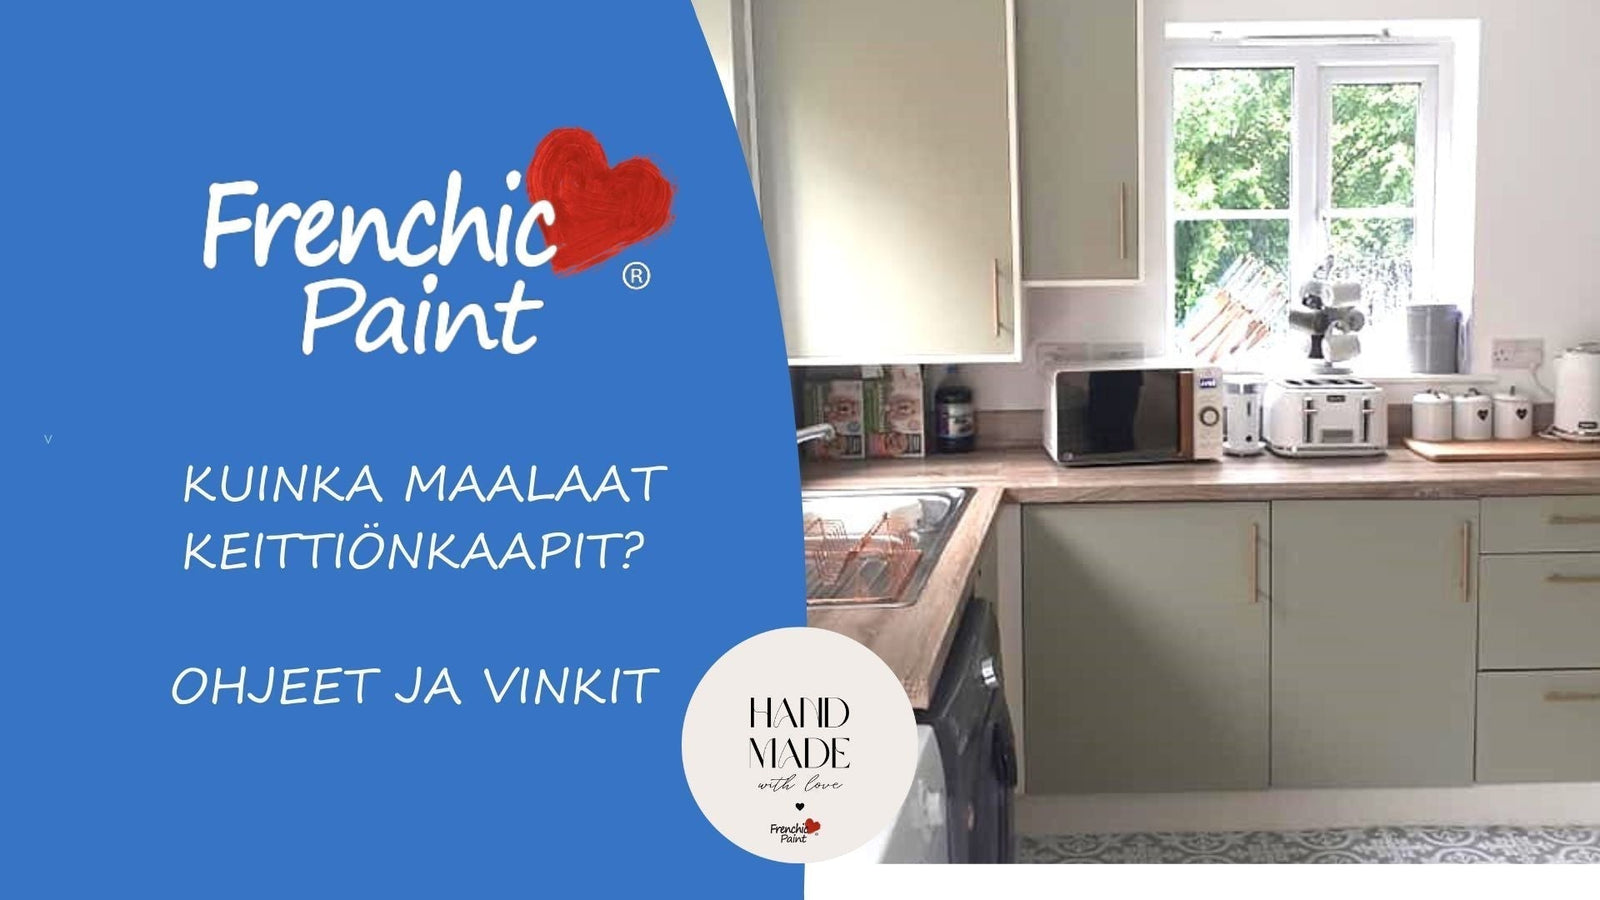
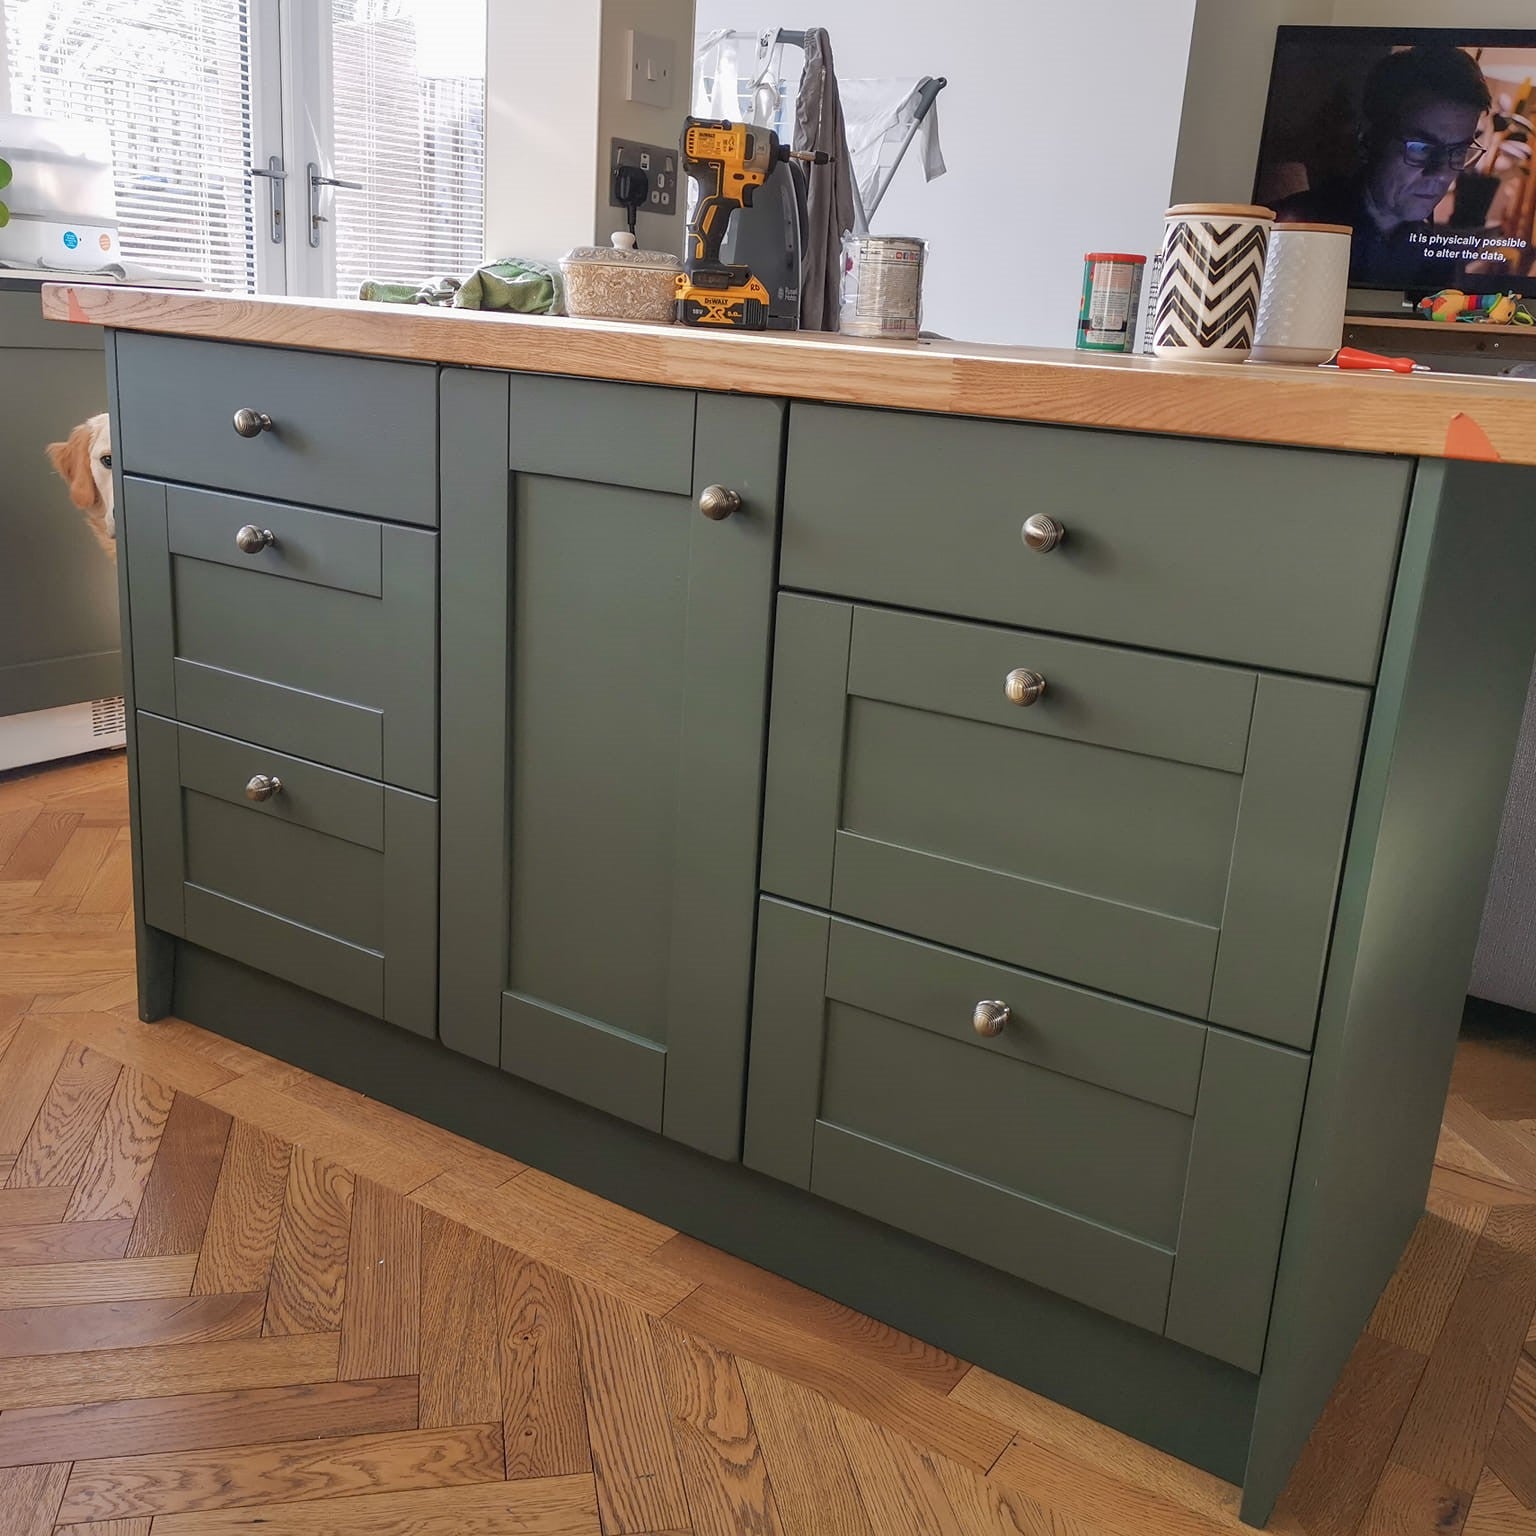
Kitchen painting can also be done with the doors in place. Drip-free Frenchic is pleasant to paint. The shade in the pictures is Olivia, from the Al Fresco series.
Paint the kitchen cabinets yourself and save - you don't always have to buy new ones.
Just by painting the doors and choosing a new shade, you can easily bring an old kitchen back to the present day.
Generous Frenchic is your choice! For painting the cabinets of a typical kitchen, 2-3 x 750ml Frenchic paint is enough - compare the price of a paint can to new doors.

Kitchen painted with Smudge shade, from the Al Fresco series.
Painting kitchens yourself is more common than you think!
Frenchic series paints have become extremely popular in England, and the kitchen painting boom is happening precisely because of the new features of Frenchic series paints.
Our customers have fallen in love with the matte finish of Frenchic shades and the even and durable result.
Read here also our customers' experiences and feedback on the Frenchic series.
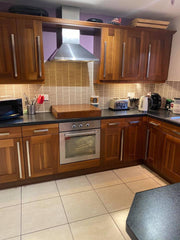
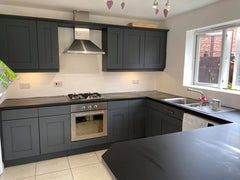
Image: Cabinet doors in Smudge shade and backsplash tiles in Dazzle Me! shade
Is your kitchen so old and worn that you think painting is not an option?
You might be surprised when you explore our customers' various Frenchic projects: you will probably find examples of a kitchen very similar to yours in our FB group photos!
You can compare pictures and options, plan the use of shades. What if you boldly tried powdery green, blue, or pink! How would a super trendy two-tone kitchen look?
The matte shades of the Frenchic series are soft interior colors that suit many types of homes beautifully.

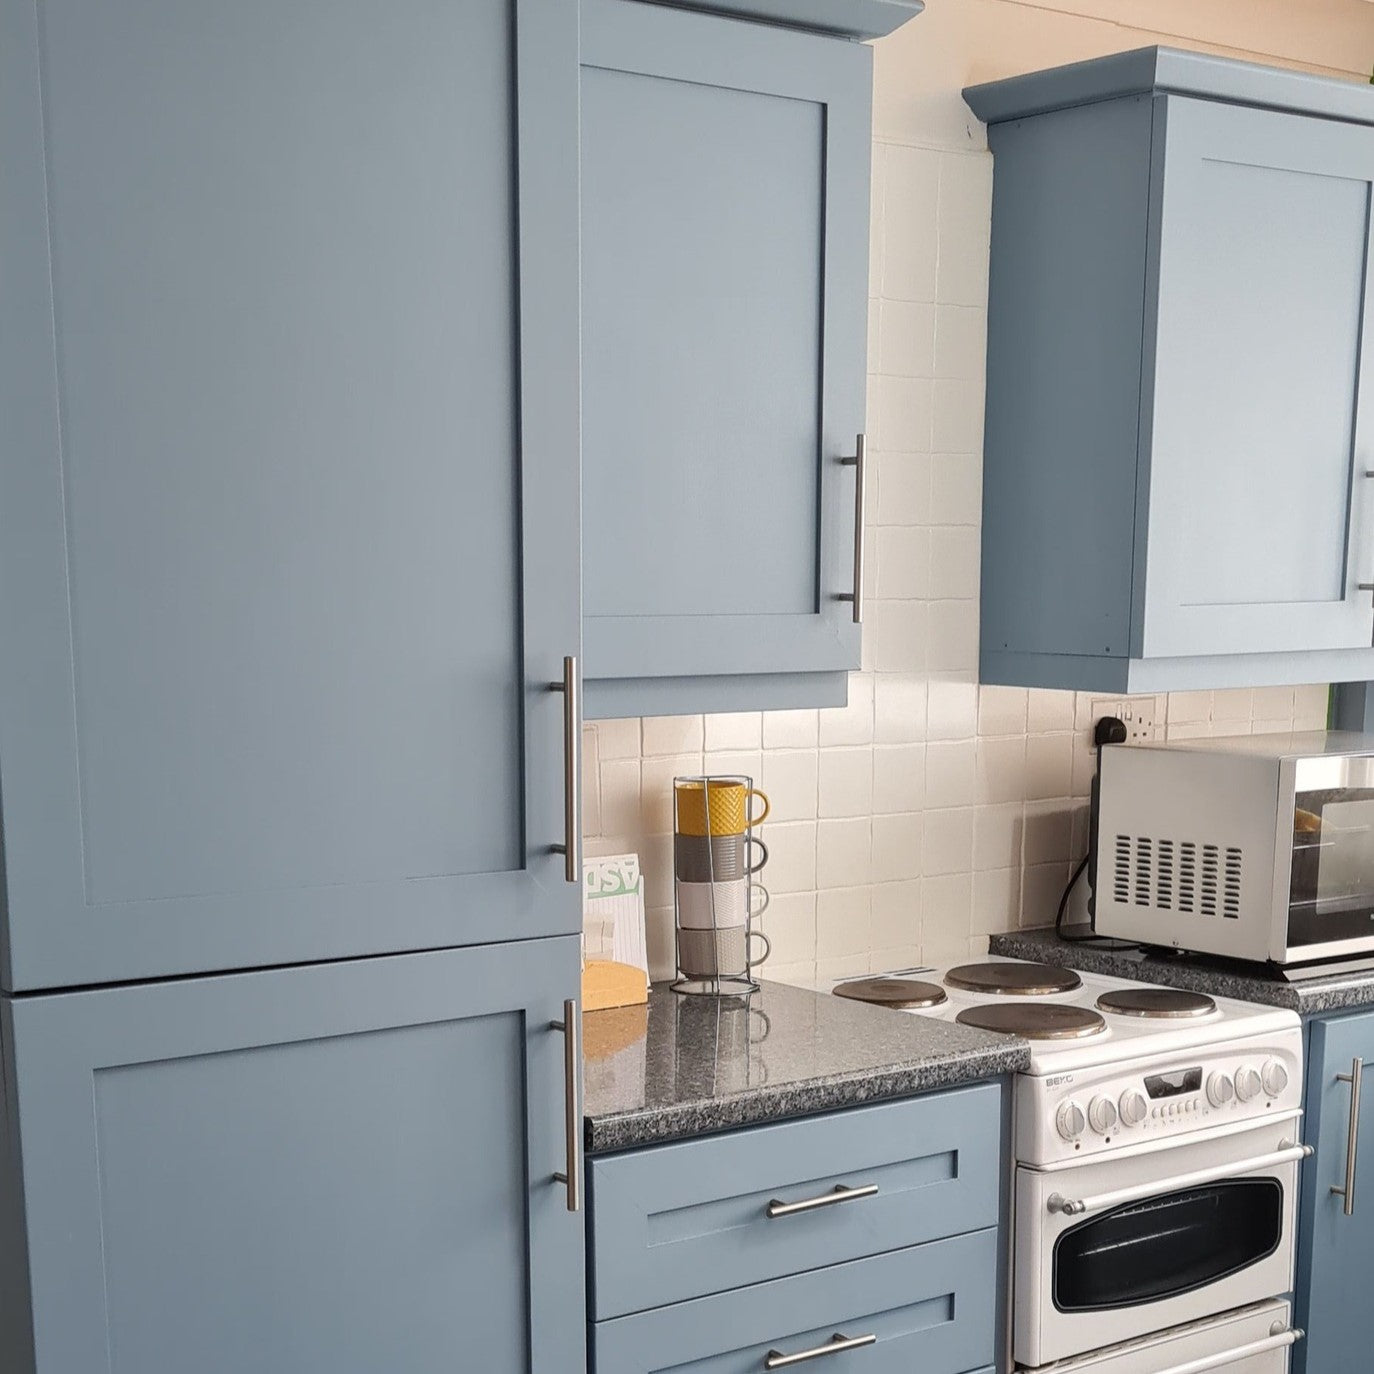
The kitchen cabinet doors in the picture are painted with the pastel Little Duckle shade, from the Al Fresco series.
From our customers' photos on the FB pages, it is easy to compare what the result will look like if you only paint the doors and leave the frames unpainted.
The painting style can be painting the doors in place or removed, or painting only the outside of the doors - useful photo series are available for these as well.
You will surely find a kitchen similar to yours in the group!
In the group, you will find hundreds of photos and photo series from our customers, kitchen transformation pictures, so the Frenchic group is a nice place to start planning.
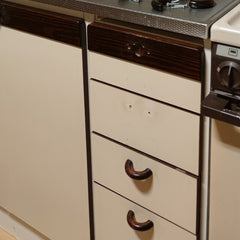

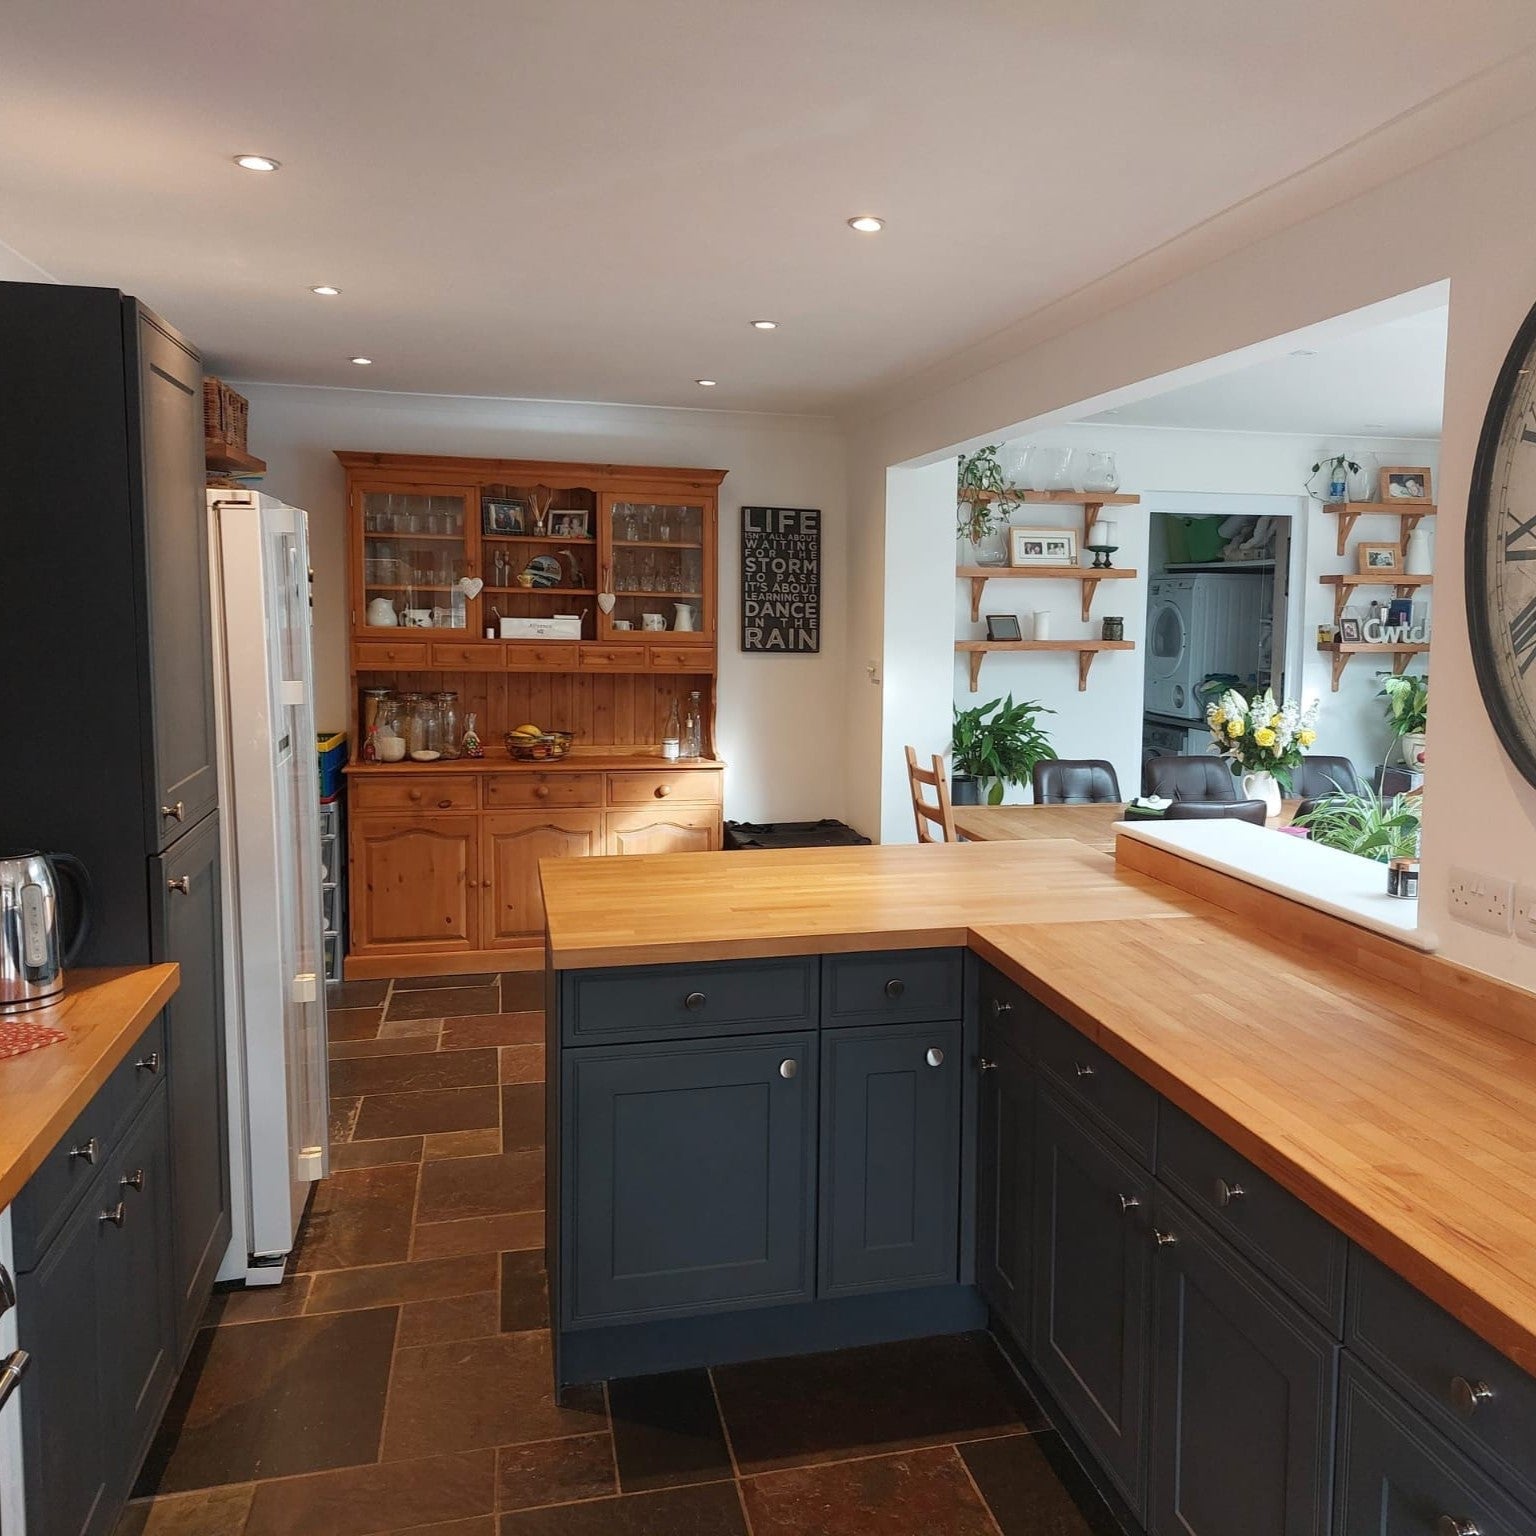
Image: before and after. Shade: Wise Old Sage, Al Fresco
Allow time for the kitchen painting project
At home, for DIY painting, you can take your own pace and paint even just one door at a time!
A weekend painting session with friends is a quick way to get everything done at once. Choose the style and method that suits you.
Also allow time for the paint to dry according to the instructions.
You can paint wood or MDF surfaces
You can paint many types of surfaces: wooden doors, chipboards, or MDF film doors. Learn more about painting laminate surfaces here.
Sometimes the plastic film on doors is already wrinkled, and removing it can be a good option before painting. Removing films is possible with heat, often just with a hairdryer.
Tip!
If you end up removing the plastic film from furniture or kitchen cabinets, you avoid sanding and washing the surfaces. However, do not sand or wash (washing raises MDF fibers) bare MDF board surface without proper protection. Harmful substances can be released from clean MDF board.
Treat bare board surface with Finishing Coat before painting, so the porous board is sealed, and you save on paint quantity.
No matter what kind of surface you paint, the preparations are always the same:
-
Thorough washing of surfaces to clean kitchen grease and dust.
-
Patching and filling if, for example, you change handles to a new type.
-
Surface sanding. (do not sand bare MDF board)
-
Painting, at least twice, depending on shade differences and chosen color.
-
48h drying, careful use during the three-week curing period.
Practice first on a small scale.
If you haven't painted with the Frenchic series before, do a test paint first – you could, for example, get an old small cabinet or nightstand with a door and drawer, in miniature size like in your kitchen.
Do all the preparations on the test piece as you would for your kitchen: washing and sanding. Try different brushes and rollers, different painting techniques.
In this small project, you can easily see the surface finish with the painting tools you have chosen.

Image: Dusky Blush & City Slicker, Al Fresco


Image: Cabinet doors Swankypants, Al Fresco, backsplash tiles Dazzle Me!
Start by choosing a shade for the kitchen and test it calmly at home.
Choose a Frenchic Paint shade or a few of your favorites and paint a test on a cabinet door, a loose door, or some inconspicuous spot.
This way you immediately get a good idea of the paint's coverage and can also estimate paint consumption.
You can also examine your chosen shades in your own home's light and shadow - thus ensuring the color's accuracy.
Did you know that a shade/color looks different on a vertical surface than on a horizontal surface!
From this page you will find all, over 100 ready shades conveniently in one place!

The kitchen in the picture is painted Cool Beans, shade Al Fresco from the series.
A typical kitchen painting without major color differences is finished with 2-3 coats
Many factors affect paint consumption: the color difference between the surface and chosen shade, painting tools and technique, unmixed paint, and too thin coats.
So follow the instructions to get the best result
If the color difference between the surface to be painted and the chosen paint is large, or if you want to paint reddish wood white, you may need more coats than usual. Especially when painting from white to black or vice versa.
An orange, yellowish, red, or similar surface should be painted with a gray shade before the final surface color.
The character of colors changes depending on lighting and adjacent colors. The color also appears differently on horizontal or vertical surfaces. That's why testing at home is worthwhile!
Thinning the paint also negatively affects coverage, number of coats, and durability.
Make sure you reserve enough paint to complete the project
The industry standard advice is that if you need more than one can of paint, make sure they are from the same batch number or, if that is not possible, mix the paint batches before painting to ensure a uniform finish. Also note that a small 250ml and a large 750ml can are always from different batches.
Only when dry and after two coats should you assess the accuracy of the shade.


Yellowed white beautifully renewed with Olivia shade.
From dark to white or vice versa
Tip!
Paint the first coat with a gray shade if your new color differs significantly from the base shade. The gray tone neutralizes redness or dark tones, allowing you to use fewer coats, for example with whites.
You can choose a medium gray shade, for example, from the Al Fresco series City Slicker or Swankypants shades.
When choosing a shade, it is worth looking at the Frenchic Paint series' own FB group posts; there you will probably find pictures of already painted kitchens in the shade you are considering.
In the group's search field, search by shade name or see all tagged posts with the title: kitchen.
From here you can read more about colors and color selection.
Start your painting project by cleaning the surfaces
Wash and scrub the surfaces to be painted thoroughly clean of all kitchen grease, dirt, and dust. This step is the most important one; cleaning should be done carefully.
Clean everything REALLY well! Kitchen surfaces can be especially oily and greasy regardless of how clean you keep your kitchen. Clean and clean again!
Sugar Soap is a detergent developed for this purpose - paint wash, but whatever detergent you use, rinse the surfaces finally with clean water and then dry the surfaces.
You don't want to skimp on this washing step; it will come back to haunt you later when your project is already underway. No paint will stick long on a dirty and greasy surface.
Examine the clean surface - do you want to fill holes or scratches? Are you changing the handles to new ones? Remove knobs and handles. Then fill the old handle attachment points.
Roughen the surface and start painting
Wipe sanding dust off the cabinet surfaces and start painting. Allocate time for the project or do it in small parts according to your own schedule, one door at a time.
You can remove the doors from their hinges, which may speed up the painting work, or paint the doors in place.
However, tape the hinges and other areas you don't want to paint before painting. Use quality tape for masking.

Image: Oval brushes from the Frenchic Paint series are well suited for painting cabinet doors.
Paint a test - try and test the tools first as well
If your cabinet doors have grooves or decorative panels, you need good brushes: both narrow and wide brushes. A narrow roller is also a quick and good tool to use with brushes.
Try the tools before starting a bigger job, so you will notice which painting tool suits you best.
With quality, clean, and intact tools, painting goes quickly and the result is beautiful. The oval brushes in the Frenchic series are handmade specifically for chalk paint-type paint.
You can paint doors with a small sprayer or brush - roller and brush are a good combination.
Take care of your brushes during the painting project and always wash them thoroughly with warm water after the painting job. Dry the brushes horizontally or with the bristles downwards.
With clean brushes, the painting result is beautiful. Read more about brush selection here.
Do not overwork a wet paint surface - Let the layer dry, even if it is not perfect and opaque - the next layer will fix the situation. But always paint the next layer only on a completely dry surface. Even if you want to fix some spots, be patient and let the layer dry first.
If you accidentally paint over a fresh paint layer again, it may roll unevenly. Even then, let the layer dry, sand the surface smooth - wipe off the dust and continue painting.

Picture: Dusky Blush, Al Fresco
Let the paint dry calmly
Following drying times is important as it affects the durability of the paint surface and the paint consumption.
Read the instructions on the paint can before starting and follow the painting instructions and drying times, also between paint layers.
Finally, let the painted surfaces dry for 48 hours before cautious use and remember that the protective properties of the paint continue to harden for three weeks after drying. Until then, be extra careful with the surfaces.
You can cautiously start using the kitchen after 48 hours. When the paint has reached its final hardness after about three weeks, the surface becomes very durable.

Color in the picture: Dazzle Me! and Smudge, Al Fresco
Frenchic Paints level out beautifully
Frenchic Paints have a special 'Self Levelling' feature, the paint surface evens out beautifully during the drying time of the layer. Read more here.
If you want the painted surface to be finished and smooth, paint the last coat lightly with a roller or a slightly damp brush dipped in water. With quality paints and clean tools, the result is beautiful. Always let the paint layers dry completely before the next one - patience is key in a painting project.
You may need several coats, especially if the shade difference between the base color and the chosen paint is large.
Try techniques and tools first, then choose which tools and style will give you the desired result.
The paint consumption and coverage are significantly affected by the shade difference, careful mixing of the paint before starting the project and during it - as well as following drying times between coats.

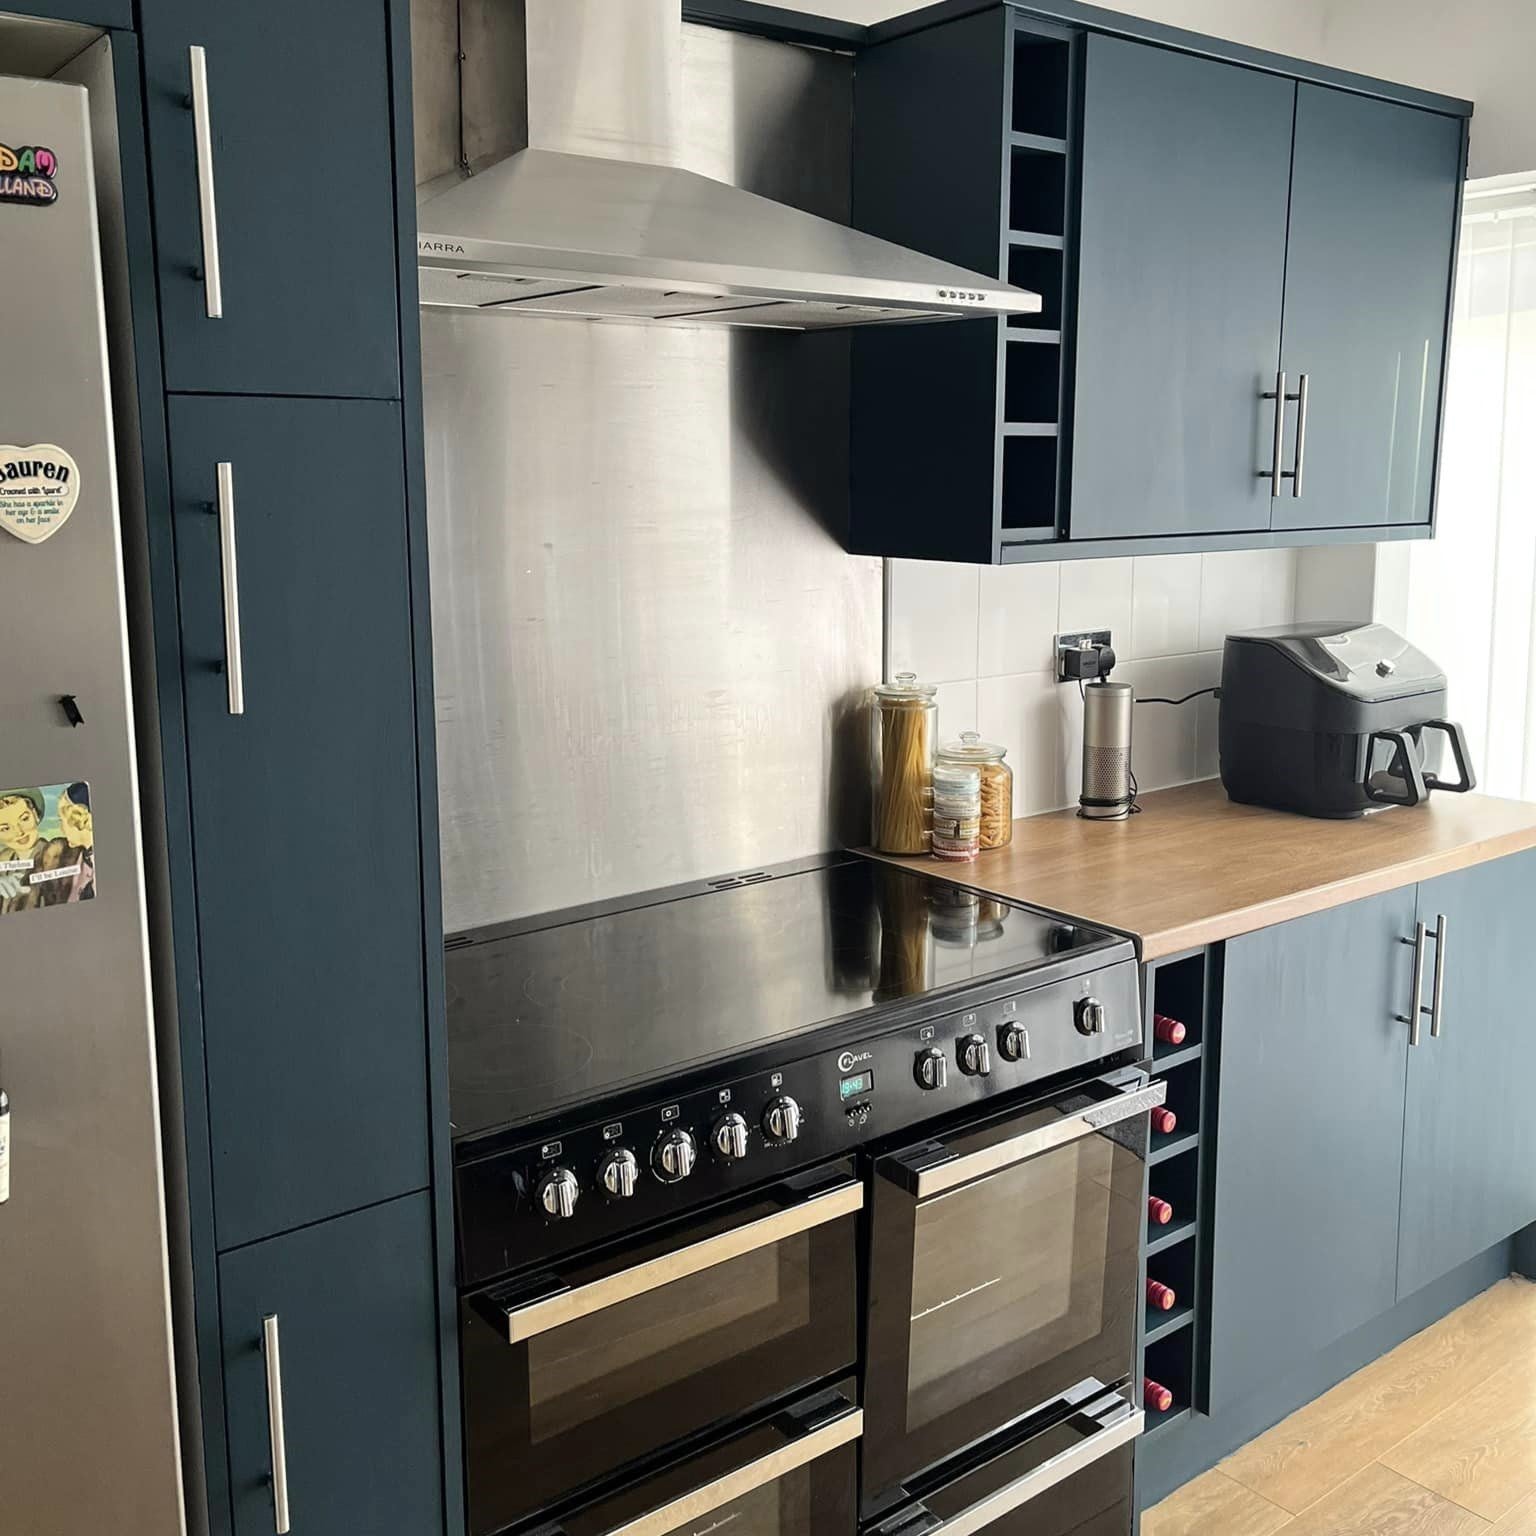
The shade of the kitchen cabinets in the picture is muted blue Ol' Blue Eyes, from the Al Fresco series.
When painting with Al Fresco, the drying time between coats is two hours, and with Lazy Range at least one hour.
Suitable series from Frenchic for painting kitchen cabinets
- Lazy Range - waxed lime paint - matte finish, no other protection needed
- Al Fresco Moisture-resistant lime paint - matte finish, no other protection needed
- Trim Paint, satin matte, durable trim and door paint - satin glossy, no other protection needed, only in 500ml cans
If you choose paint from these three series for painting kitchen cabinets, you don't need any other protection, such as wax or varnish, on top of the paint. The painted surface will be durable as is, as long as the paint is allowed to dry and harden calmly according to the instructions.
You can apply extra protection if needed from Finishing Coatings for high wear surfaces.
A new, fresh shade for kitchen walls
Washable and durable Frenchic Wall Paint is suitable for kitchens. Read more here.

The kitchen wall in the picture is painted with the blue-gray Gentlemen's Club shade.
Extra protection for surfaces with heavy wear - kitchen countertops
When considering the need for extra protection on painted surfaces, it's best to be realistic.
You know best what kind of wear your kitchen experiences.
Heavy use does not mean you cannot paint furniture.
In general, all painted surfaces poorly tolerate strong detergents, disinfectants, abrasive cleaning tools, pet claws, and mechanical scratching or scuffing.
Painted surfaces do not withstand cutting directly on the paint or hot oven dishes without proper protection such as cutting boards and trivets.
Painting kitchen countertops and kitchen table tops
We do not recommend painting kitchen countertops. However, our customers have painted kitchen countertops and kitchen table surfaces. Some projects succeed, others do not.
Before deciding to paint, consider how your family uses and cleans the surfaces.
The painted surface does not withstand, for example, cutting directly on it or hot dishes.
For painted countertops and kitchen table surfaces, Tuff Top Coat coating according to the instructions is recommended.
The Frenchic Paint range has two different finishing coats, both suitable for finishing kitchen cabinets, providing a moisture-resistant and durable surface, either matte or glossy.
If you decide to add, for example, a matte finish coat over the paint surface, however, wait at least a couple of days, minimum 48h, to allow the paint to start drying.
Applying the coating is easy and quick – you can do it, for example, only on the lower cabinets.
Read the work instructions from the product information of your chosen coating and follow the drying times and number of layers.
Both finishing coats are solvent-free, easy to apply, and dry quickly.
Finishing Coat - Glossy finish
You can add layers of Finishing Coat to the painted surface according to the instructions if you want more gloss. Finishing Coat is best applied with a sponge.
Tuff Top Coat - Matte finish
The new Tuff Top Coat is a matte finishing coat that withstands some heat and is suitable for providing extra protection to heavily used painted kitchen countertops, kitchen table surfaces, floors, and kitchen cabinets.
If you love our matte paints but want extra protection and durability, use TTC, so you don't have to compromise on the beautiful matte finish!
Frenchic Paint series paints have a matte finish - durable and washable
Only Trim Paint series paints have a beautiful, soft satin gloss. Trim Paint is an excellent choice for kitchen cabinets.

The kitchen in the picture is painted with blue-gray Genlemen's Club shade, from the Trim Paint series.
Take good care of your painted furniture and kitchen cabinet doors and wipe them only with mild detergents. Avoid strong detergents, steam cleaning, and abrasive sponges or brushes when cleaning stains.
Read more about caring for painted surfaces here.
No wax in the kitchen
We do not recommend self-applying wax layers on kitchen cabinets or bar tops because the wax surface wears off with use and dissolves in alcohol and solvent-based cleaners.
We recommend Finishing Coat layers instead of wax for surfaces with heavy wear and splash exposure, or if you want gloss on matte paint.
Frenchic Paint Original series paints are not recommended for kitchen countertops as is, without Tuff Top Coat coating.
Paint selection and consumption for painting kitchen cabinets
Paint consumption depends on many factors, but often 2 x 750ml is enough even for a large kitchen regardless of the series.

Get a small 250ml can for testing
If you paint a dark surface white or vice versa, paint consumption may be higher due to the large color difference. In that case, reserve one gray shade for the first coat.
Factors affecting consumption include: careful mixing of the paint, observing drying times between coats, color difference between the base and chosen shade, painting tools, and technique.
Consider whether you will paint the doors and frames also on the inside. What about the sides of cabinets and the trims?
Spray painting uses more paint than usual.
Test before a bigger project
We recommend test painting to get familiar with the paint and tools before a bigger project.
Brushes, masking tape, and detergent.
Tools:
You can do the painting work with a brush or roller - often both are a good purchase.
Detergent:
You also need an effective grease-removing detergent, for example Sugar Soap and a sanding sponge if you do surface roughening by hand.
Masking tape:
Quality tape if the cabinets have glass doors and you want to mask edges or trims.
If you don't change the handles, you don't need anything else!
Frenchic Paints Coverage:
Al Fresco, Trim Paint, and Lazy Range paints coverage is about 12m2 / 750ml.
Chalk Wall Paint's 36m2 / 2.5L.
All Frenchic Paint series paints are also suitable for spray painting kitchen cabinets.
Take a look at our customers' amazing photos of completed kitchen cabinet painting projects to get good ideas for your own work!
Plan your project's implementation schedule and a calm drying time.
Invite friends to painting parties - doing it together is fun!

Color in the picture: Duckling, Al Fresco
Watch here a painting video subtitled in Finnish on how to paint kitchen cabinet doors with a brush or spray!
