
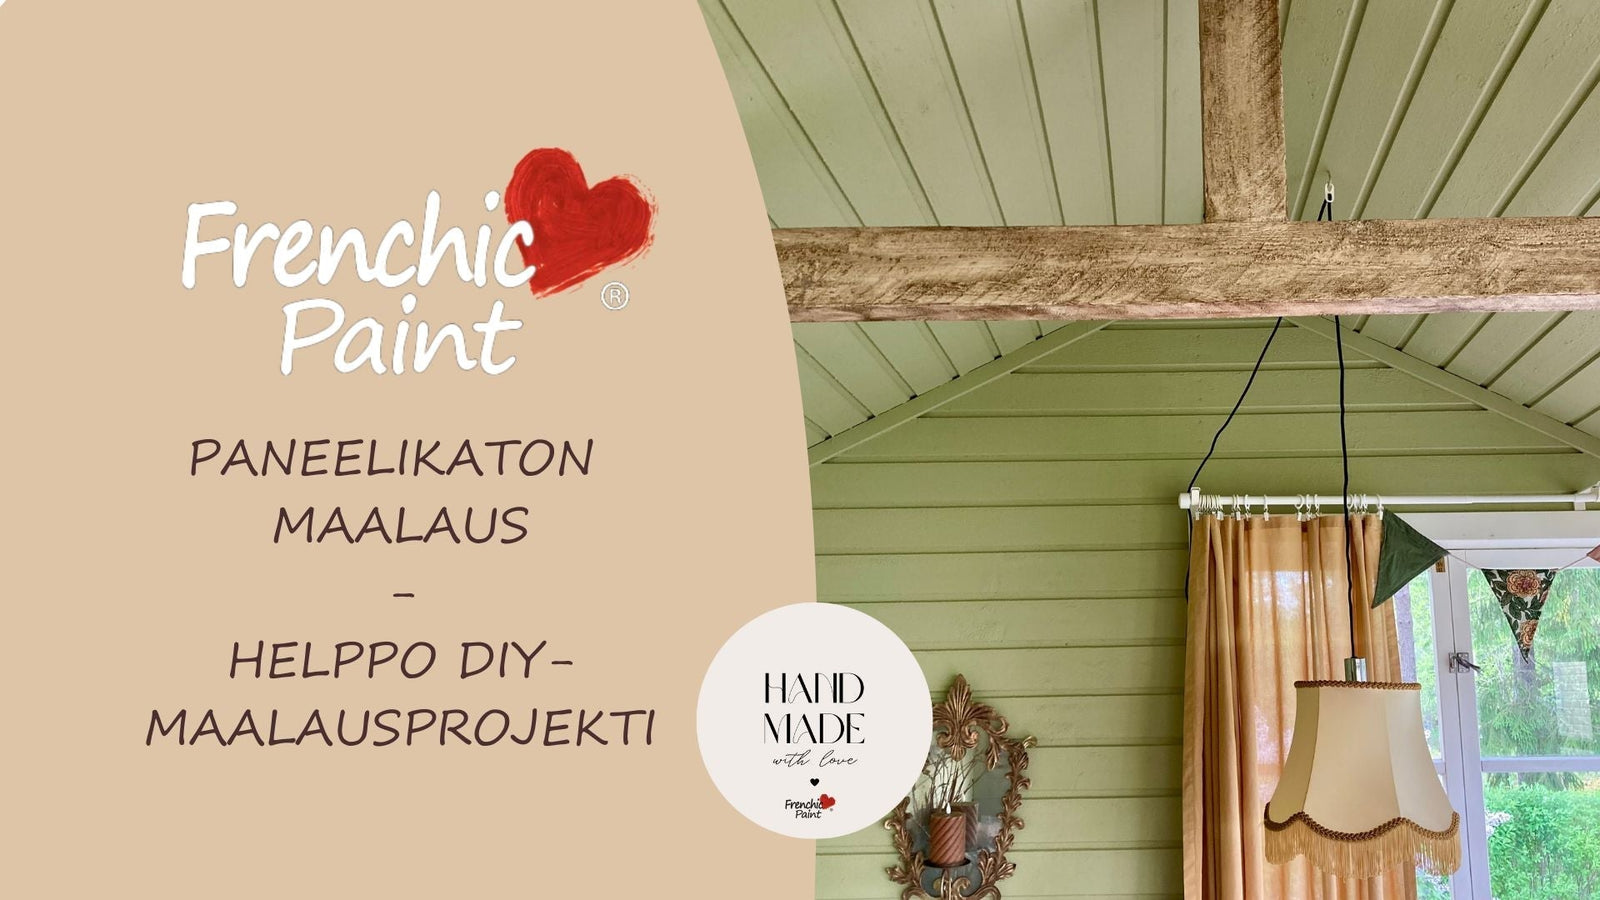

A new life for the panel ceiling – Easy DIY painting project!
Could the ceiling be thought of as the fifth wall? Now ceilings are painted the same color as the walls - or at least the boldest choose something other than painter's white!
In the picture, the panel ceiling paint shade chosen was light green Apple Barn, wall paint.

When considering painting a panel ceiling, take these factors into account before you start
Frenchic series selection
You can choose paint from any Frenchic series because it is an interior surface.
These factors can guide your choice:
- How much is there to paint?
- Do you want to choose some beautiful specific color?
- Do you want the shade to be completely covering or do you want the wood grain to remain slightly visible?
If there is a lot to paint, a large 2.5-liter container size can be an economical option. If there is only as much to paint as a small room, for example a small kitchen, children's room, or toilet, you can also choose a shade from other series packaged in a 750ml container size.
Thin the paint and keep the wood grain visible
If you want to leave the wood grain slightly visible, you can do the painting work more affordably: you can thin the shade you choose. A good thinning ratio should be tested to suit your panel ceiling, but it is often somewhere between 20-40%.
Tip! A really beautiful shade comes from a thinned light beige shade, for example Cool Beans or Salt of The Earth shades.
Frenchic series have different colors per series. Explore our shade selection here.
Shade selection
Choose boldly and give the space a completely new atmosphere!
Sky blues, light pinks, or calming beiges suit children's rooms well. In small spaces like the WC, you might dare more - dark shades bring an intimate atmosphere and a personal finish. In the kitchen, everyday life can also be delighted by a beautiful berry porridge-colored ceiling or sunny yellow!
The shade chosen for the bathroom panel ceiling in the picture was the same as the tiles, green Steaming Green.

Coverage
Generally, it can be said that panel surfaces with all their grooves naturally consume more paint than smooth surfaces.
If you paint new and untreated paneling, that also increases consumption because the new wood surface absorbs paint into the wood during the first coats.
If you paint old, orange, and yellowed pine or spruce paneling white/light, which has dark knot spots, the darkest spot determines how many coats you need to cover the knots. Dark paint shades require fewer coats than white or light ones.
Tip! When painting a dark, yellowed, and knotty panel ceiling white, it's worth painting the first coat gray - one coat is enough to neutralize the orange tint and you will need fewer white coats. You can choose gray shades such as City Slicker or Swanky Pants shades from the Al Fresco series.
2.5-liter container, Wall paint coverage: about 36m2
750ml container size. Furniture paint series coverage: about 13.5m2

Make your ceiling the most stunning detail of your home by following these clear instructions:
1: Preparation is the key to success!
- Clean ceiling panels thoroughly from dust and grease, especially soot and kitchen grease. Use the effective Sugar Soap detergent for degreasing.
- Protect floors and furniture with plastic or fabric.
- Ensure safe working methods, sturdy ladders, and preferably use extension poles.
- Wear protective glasses and clothing during painting. A cap protects your hair.
- Ensure good ventilation during work
- Read more about protection here.
2: Preparation makes the difference!
- Check if the panels need primer – this way you get a durable and beautiful surface.
- Lightly sand if the surface is glossy, lacquered, or uneven from previous painting
3: Enjoy painting!
- Choose a high-quality paint and paint the panels first with a brush along the seams. The XL sized oval brush is perfect for painting panel ceilings and panel walls.
- Stir the paint thoroughly before starting and during the project
- Use a roller to achieve an even finish.
- Let the paint dry well between coats.
4: Enjoy the result!
Admire the stunning, bright, and fresh result!

Painting instructions and inspiration: