
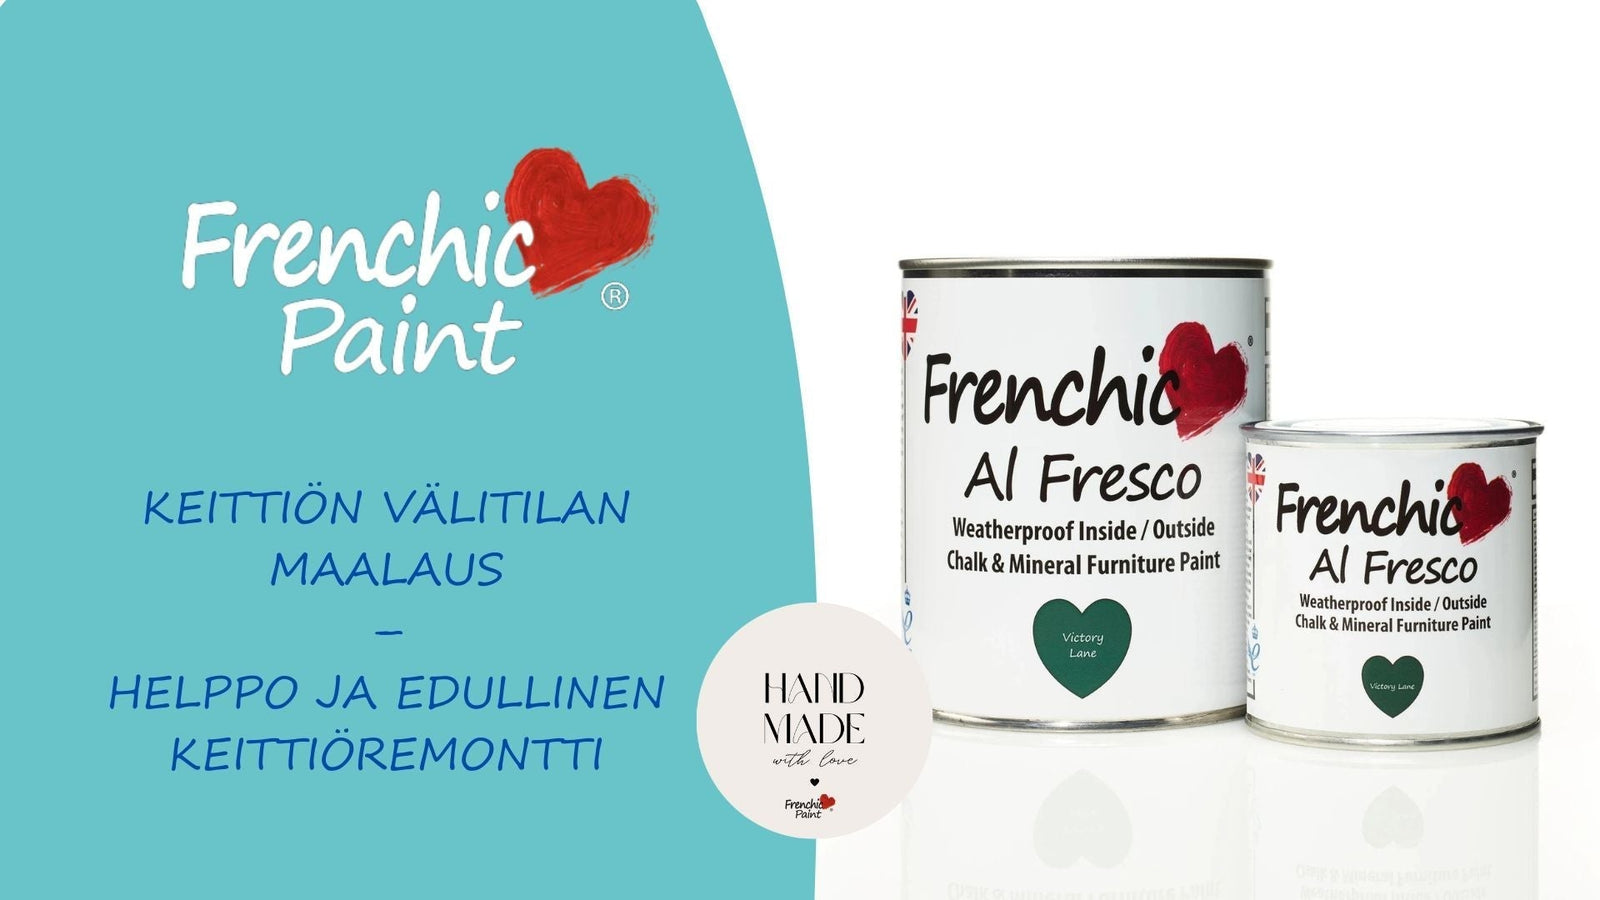

Painting the kitchen's intermediate space - an easy and affordable kitchen renovation
Would you like to update the look of your kitchen quickly and effortlessly? Painting the kitchen's intermediate space with Frenchic Al Fresco series paints is a quick, easy and affordable way to freshen up the look of your kitchen without a major renovation.

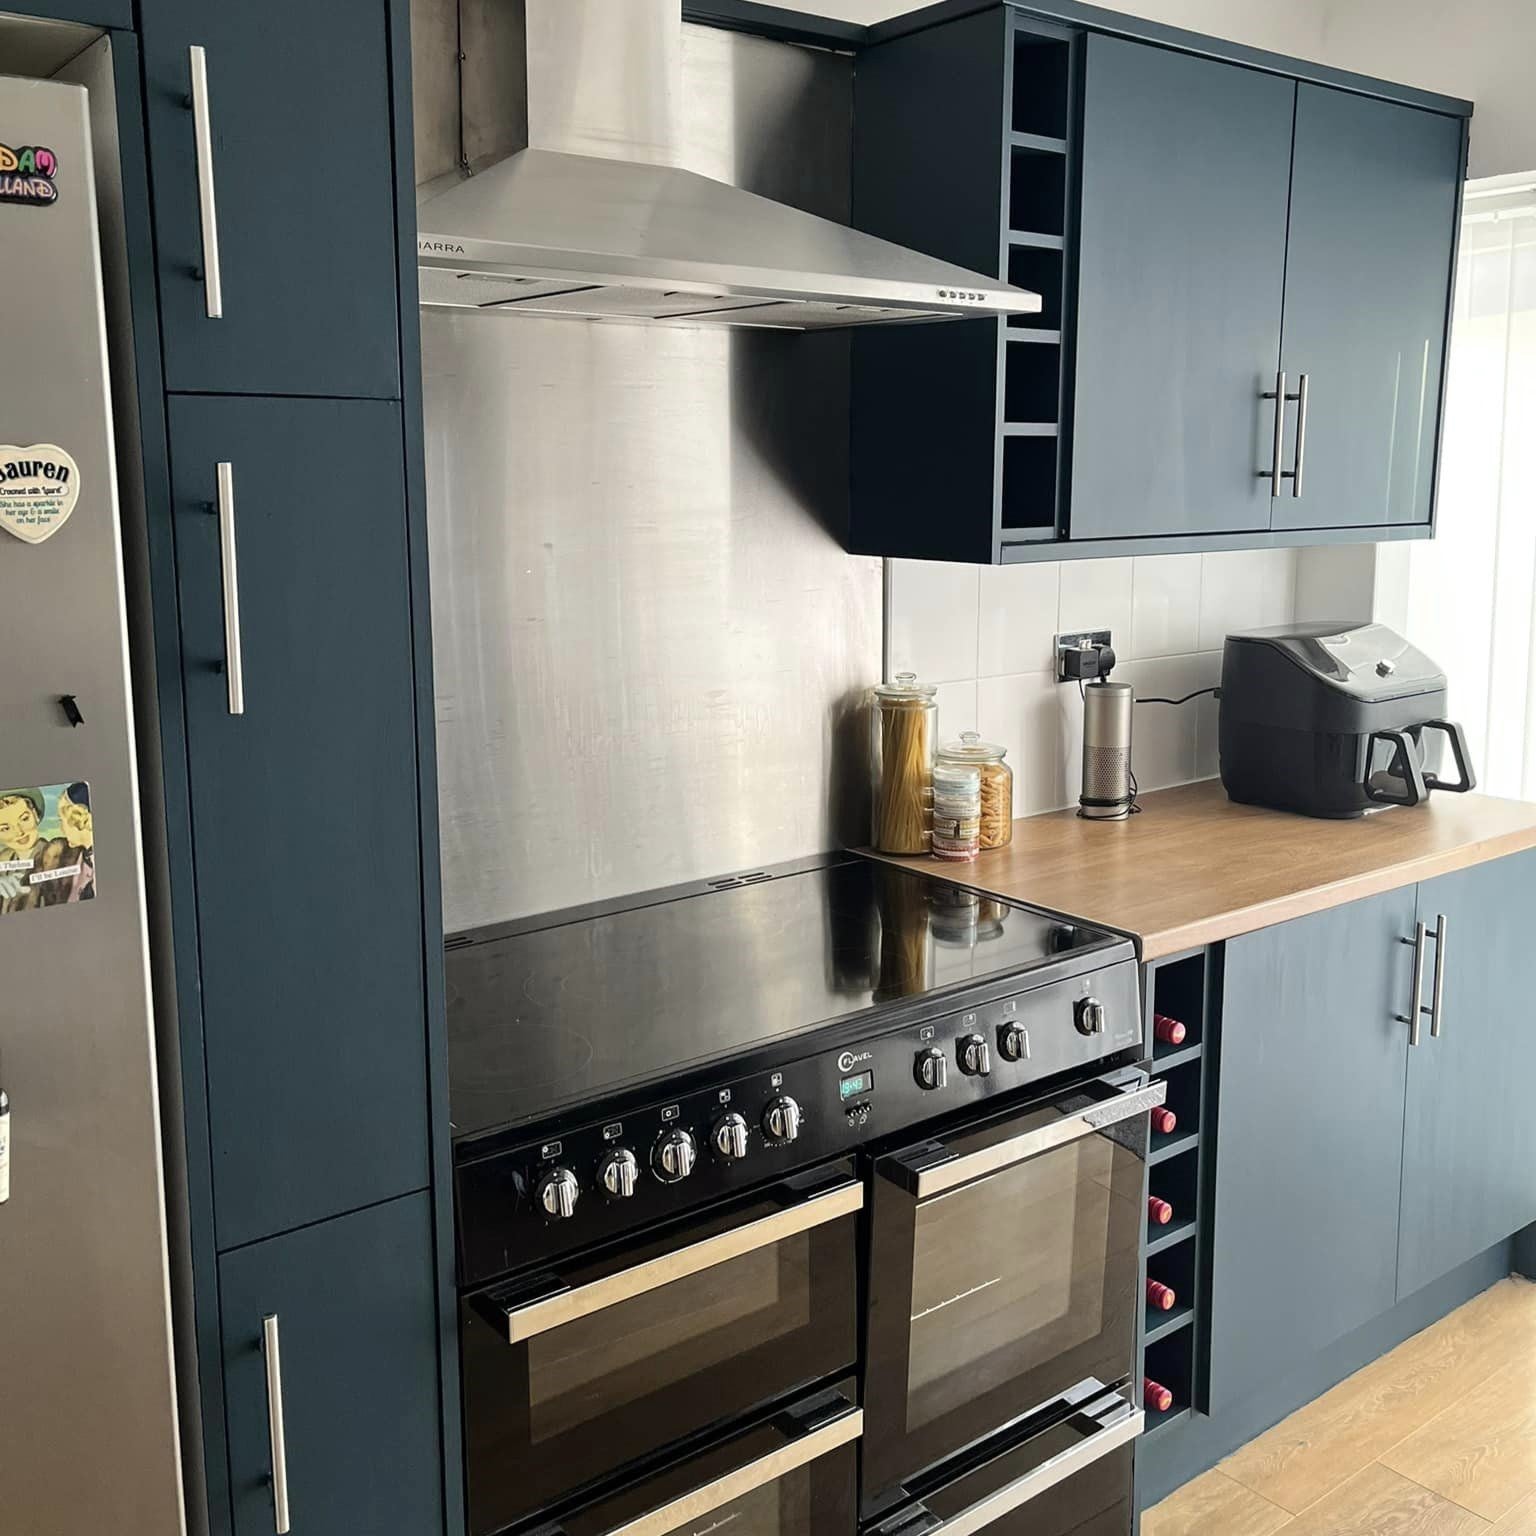
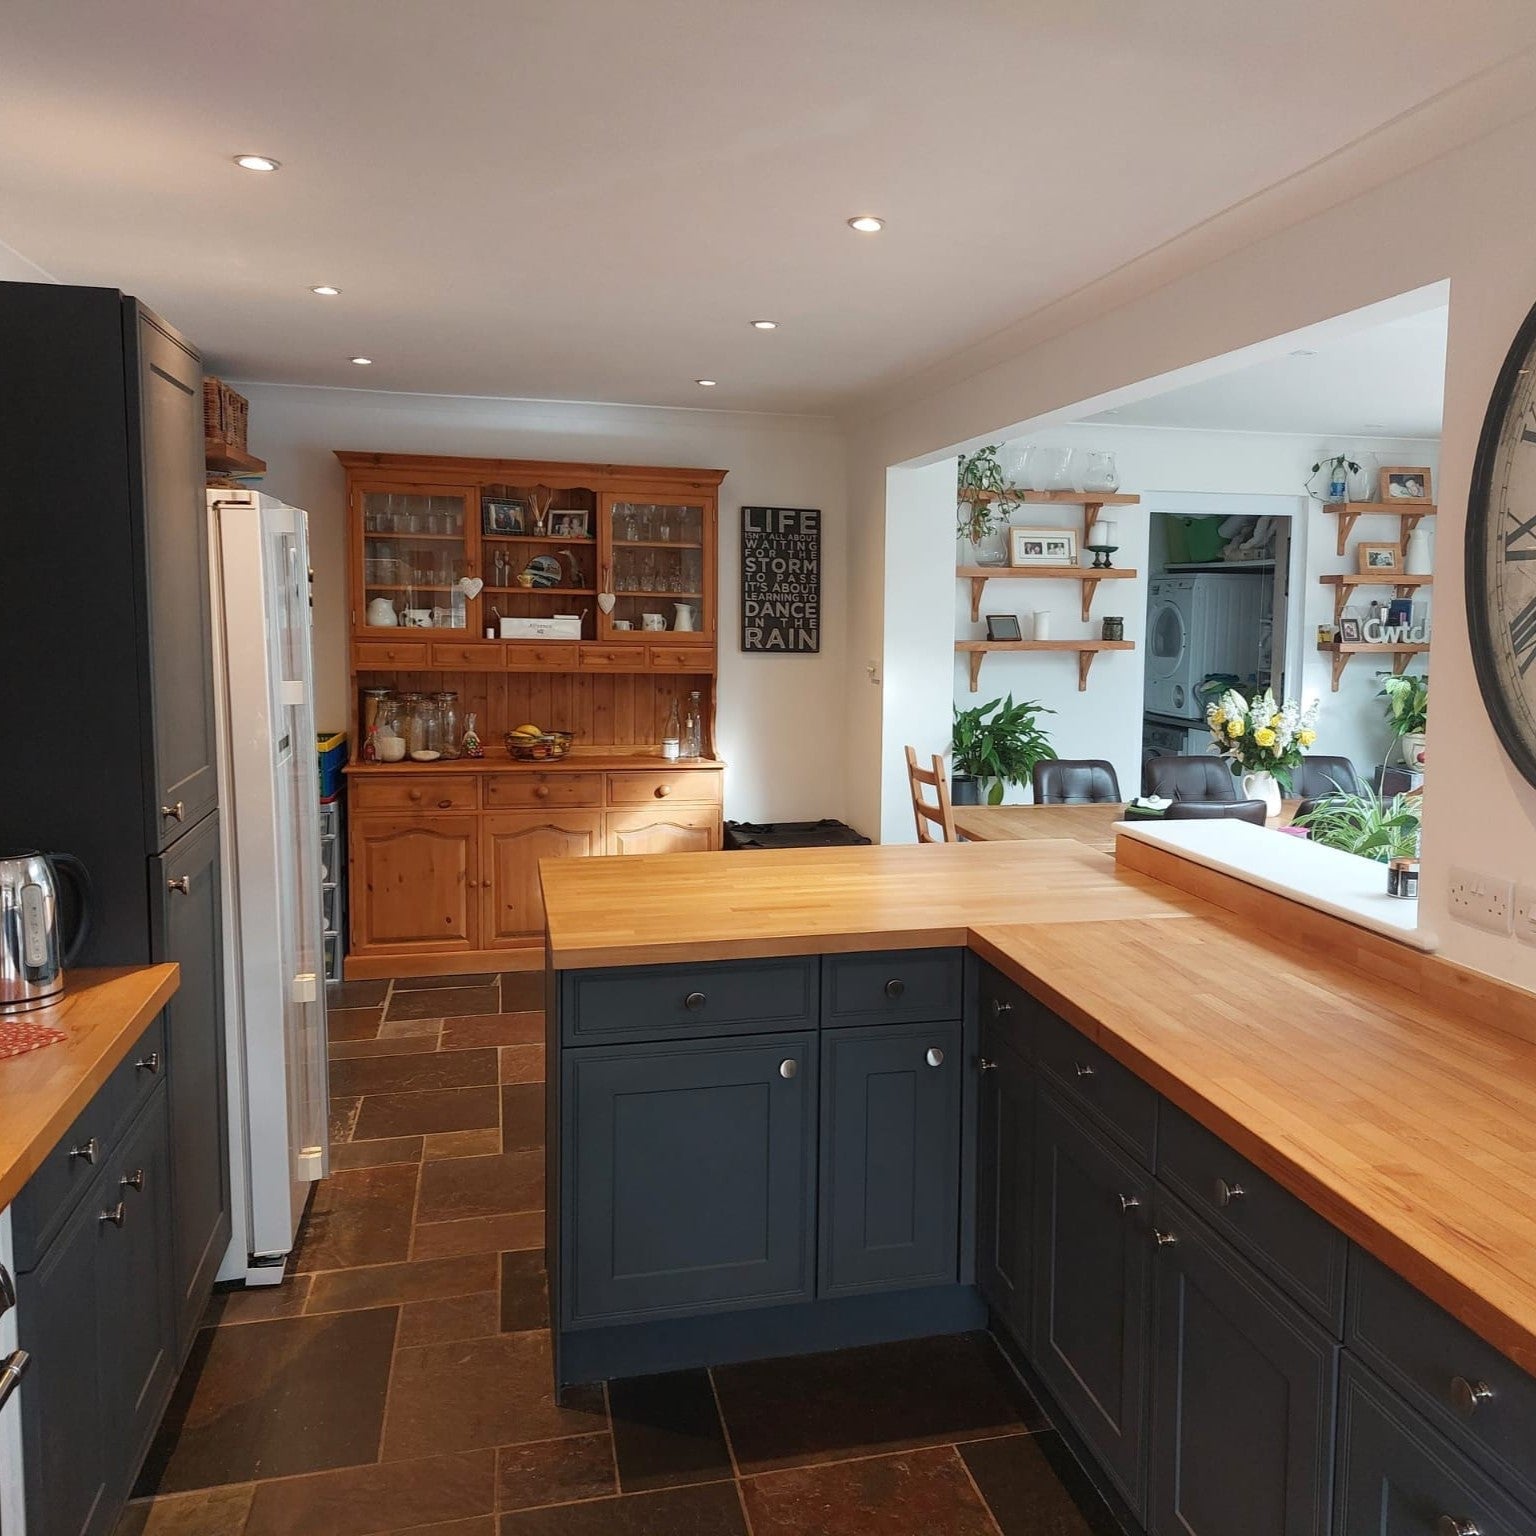
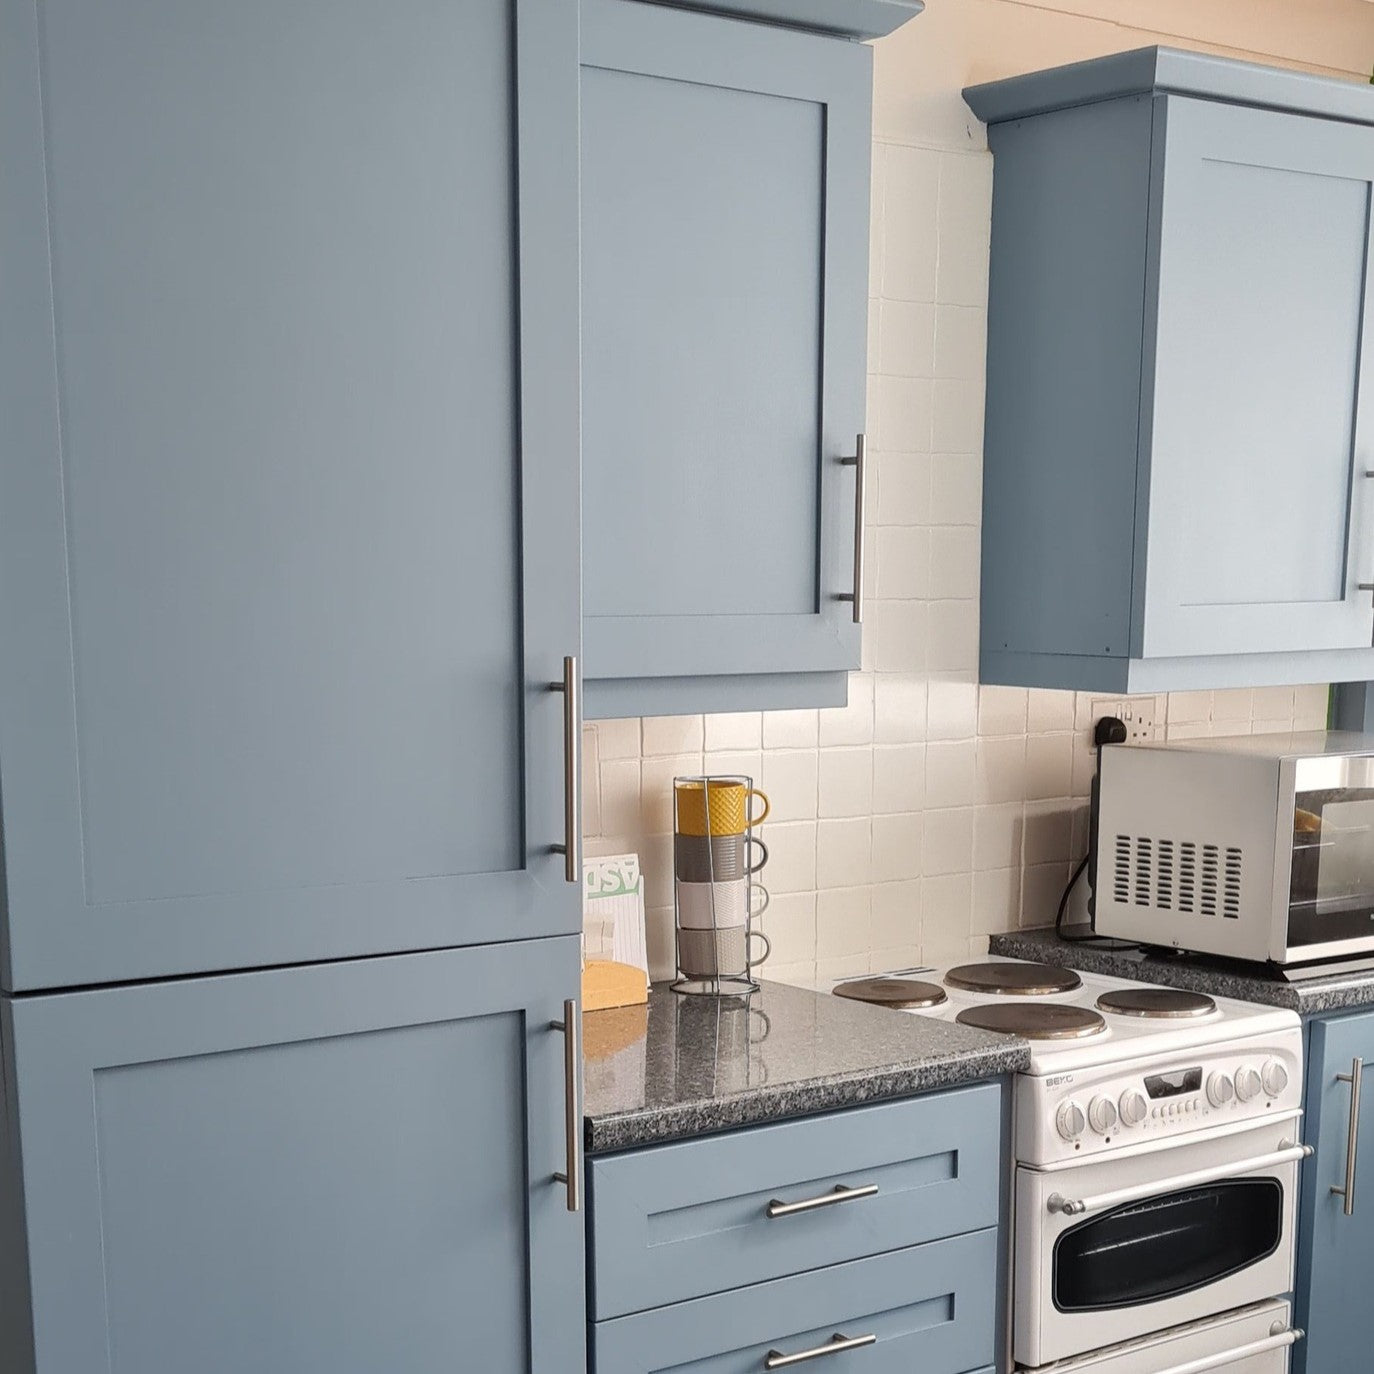
Why paint the kitchen's intermediate space?
Painting your kitchen's pantry is a great solution if you're looking for a new look or want to easily update your color scheme. By painting your pantry, you can save money and avoid major renovation costs. A fresh, clean paint surface is modern, and you can also replace your old pantry lights with new, efficient, energy-saving LED lights.
Here's how you can do it – step-by-step painting of the intermediate space:
1. Cleaning is the most important thing
Thoroughly clean the gap from grease and dirt using an effective degreaser such as Sugar Soap. At the same time, remove old silicones and replace them after painting.
2. Protect surfaces carefully
Use tape and masking paper to ensure that the area to be painted is clearly delineated and that surrounding surfaces are not messed up.
3. Priming ensures durability
Depending on the material of the gap, you can start directly with Frenchic Paint or ensure a particularly durable surface by using an adhesion primer.
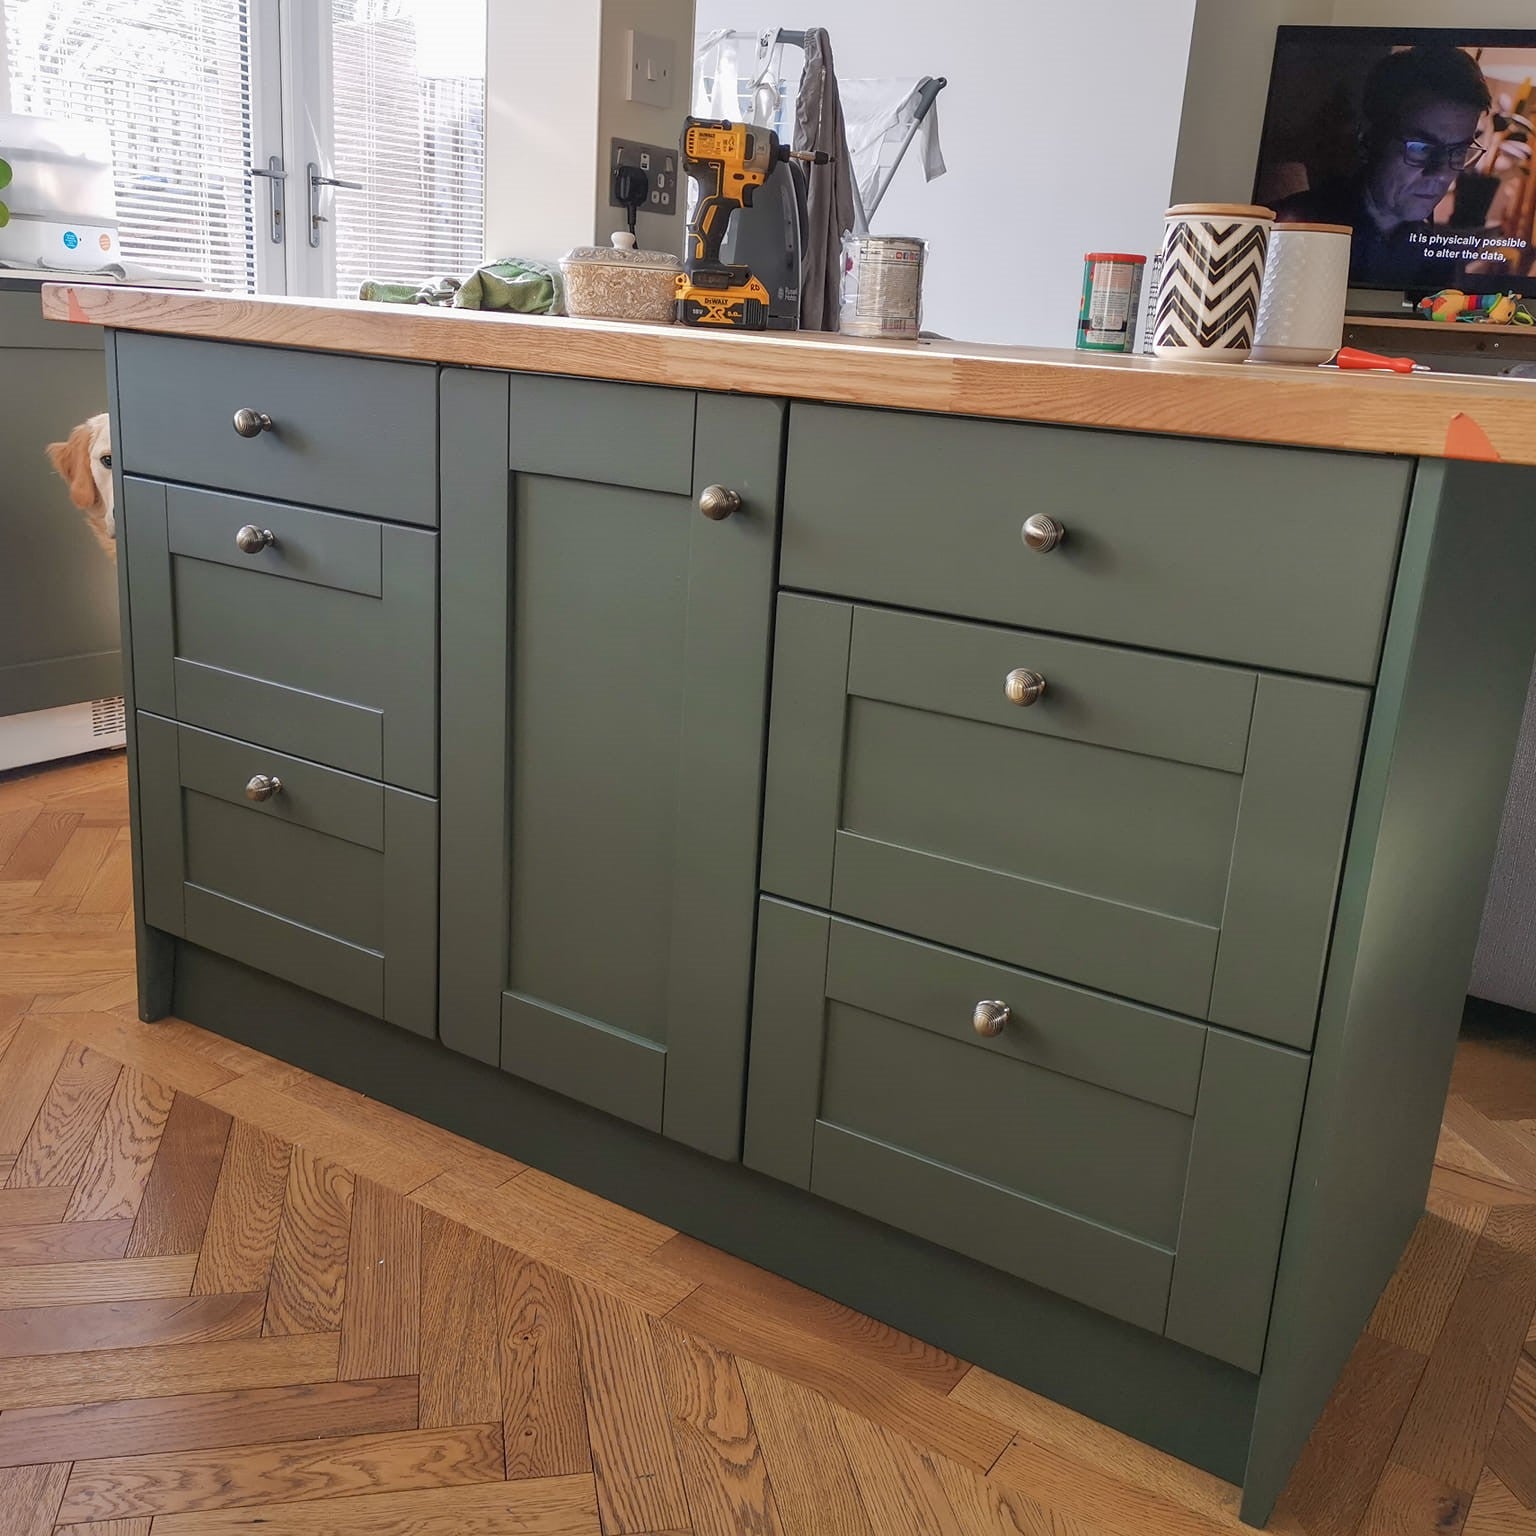
4. Painting – in layers and thinly
Apply the first coat of paint thinly and evenly. Use a quality brush or roller. Let dry for at least 2 hours.
5. Finish the second layer
Paint a second coat and let dry thoroughly, preferably overnight, for an even and durable finish.
6. Finishing and cleaning
Remove the protection only after the paint surface has completely dried and clean the edges if necessary.
Tips for successful painting:
- Careful cleaning ensures paint adhesion.
* Sufficient drying time between layers ensures a beautiful finish.
* Careful mixing of the paint ensures the correct color tone and coverage - Protect the paint surface near the oven from hot steam with a glass plate or Tuff Top Coat.

Tools needed:
* Frenchic Paint, Al Fresco paint
* Frenchic Sugar Soap cleanser
* A quality brush or roller
* Masking tape and protective paper
* Possibly new silicone gasket
Start your kitchen renovation easily today!
Explore the products and color options and create the kitchen of your dreams easily and ecologically.
Read more about painting tiles: